JavaScript提要
变量与函数
变量声明有3种
| 变量声明 |
描述 |
const |
定义常量 |
let |
局部变量,只在该大括号内生效 |
var |
具有函数作用域 |
变量类型有多种
| 类型 |
示例 |
number |
var x = 15 |
string |
var s = "RuiRui" |
boolean |
var b = false |
object.Array |
var a = new Array(1, 2, 3) var a = [1, 2, 3] |
object |
var person = {name: RuiRui, age: 19, id: 10} |
undefined |
var i |
null |
var i = null |
注解:
也可以使用 “` `“字符生成字符串模板,在字符串模板中使用 ${variable} 插入变量
可以使用typeof方法查看变量的数据类型
函数使用function声明
可以使用箭头=>函数来简化操作
比较用==,严格比较(值和类型都相等)用===,严格不等于(值和类型至少有一个不相等)用!==
1
2
3
4
5
6
7
|
const square = function(x) {
return x * x;
};
const square = x => x * x;
|
箭头函数形式简单适合作为回调函数,也没有this
事件
术语为HTML的DOM事件。以下为常用的事件
| 事件 | 描述 |
|---|
| onchange | HTML 元素改变 |
| onclick | 用户点击 HTML 元素 |
| onmouseover | 鼠标指针移动到指定的元素上时发生 |
| onmouseout | 用户从一个 HTML 元素上移开鼠标时发生 |
| onkeydown | 用户按下键盘按键 |
| onload | 浏览器已完成页面的加载 |
更多事件可以点击这里
正则表达式
使用/ /框住正则表达式
后面可以添加修饰符
| 修饰符 |
描述 |
| i |
大小写不敏感匹配 |
| g |
全局匹配,查找所有匹配 |
| m |
多行匹配 |
括号用于查找某个范围内的字符
| 表达式 |
描述 |
[abc] |
查找方括号内任何字符 |
[^abc] |
查找集合内的任何字符 |
[0-9] |
查找0-9内的数字 |
[A-Z] |
查找任何大写字符 |
(r|g|b) |
查找任意指定选项 |
元字符表示特殊含义
| 元字符 |
描述 |
\d |
查找数字 |
\w |
查找数字、字母和下划线 |
\s |
查找空白字符 |
\b |
查找空白边界 |
\uxxxx |
查找十六进制Unicode字符 |
量词表示字符的次数
| 量词 |
描述 |
n+ |
包含至少一个n的字符串 |
n* |
除只包含一个外全部包含 |
n? |
除包含多个外全部包含 |
n{X} n{X,} n{X,Y} |
包含X个 至少包含X个 包含个数在[X, Y]之间 |
n$ |
结尾为n时匹配 |
^n |
开头为n时匹配 |
?=n |
紧接n前的字符串 |
?!n |
不紧接n前的字符串 |
更多规则可以点击这里
闭包
闭包通常在以下场景中形成:
- 当一个函数被定义在另一个函数内部时,内部函数可以访问外部函数的变量。
- 当内部函数被外部函数返回时,内部函数可以继续访问外部函数的变量,即使外部函数的执行上下文已经结束。
闭包的典型结构如下
1
2
3
4
5
6
7
8
9
10
11
12
| function outerFunction() {
let outerVariable = "I am from outer function";
function innerFunction() {
console.log(outerVariable);
}
return innerFunction;
}
const myClosure = outerFunction();
myClosure();
|
环境构建
cdn
在 <script> 标签中加入src路径
1
| <script src="https://unpkg.com/vue@3/dist/vue.global.js"></script>
|
ES模板
1
2
3
4
| <script type="module">
import { createApp, ref } from 'https://unpkg.com/vue@3/dist/vue.esm-browser.js'
...
</script>
|
vite
在项目所在的文件夹下打开命令行,输入
1
| npm create vite@latest <name> --template vue
|

这样,大体的框架就搭建好了,还需要按照终端上的指示行动
1
2
3
| cd test
npm install
npm run dev
|
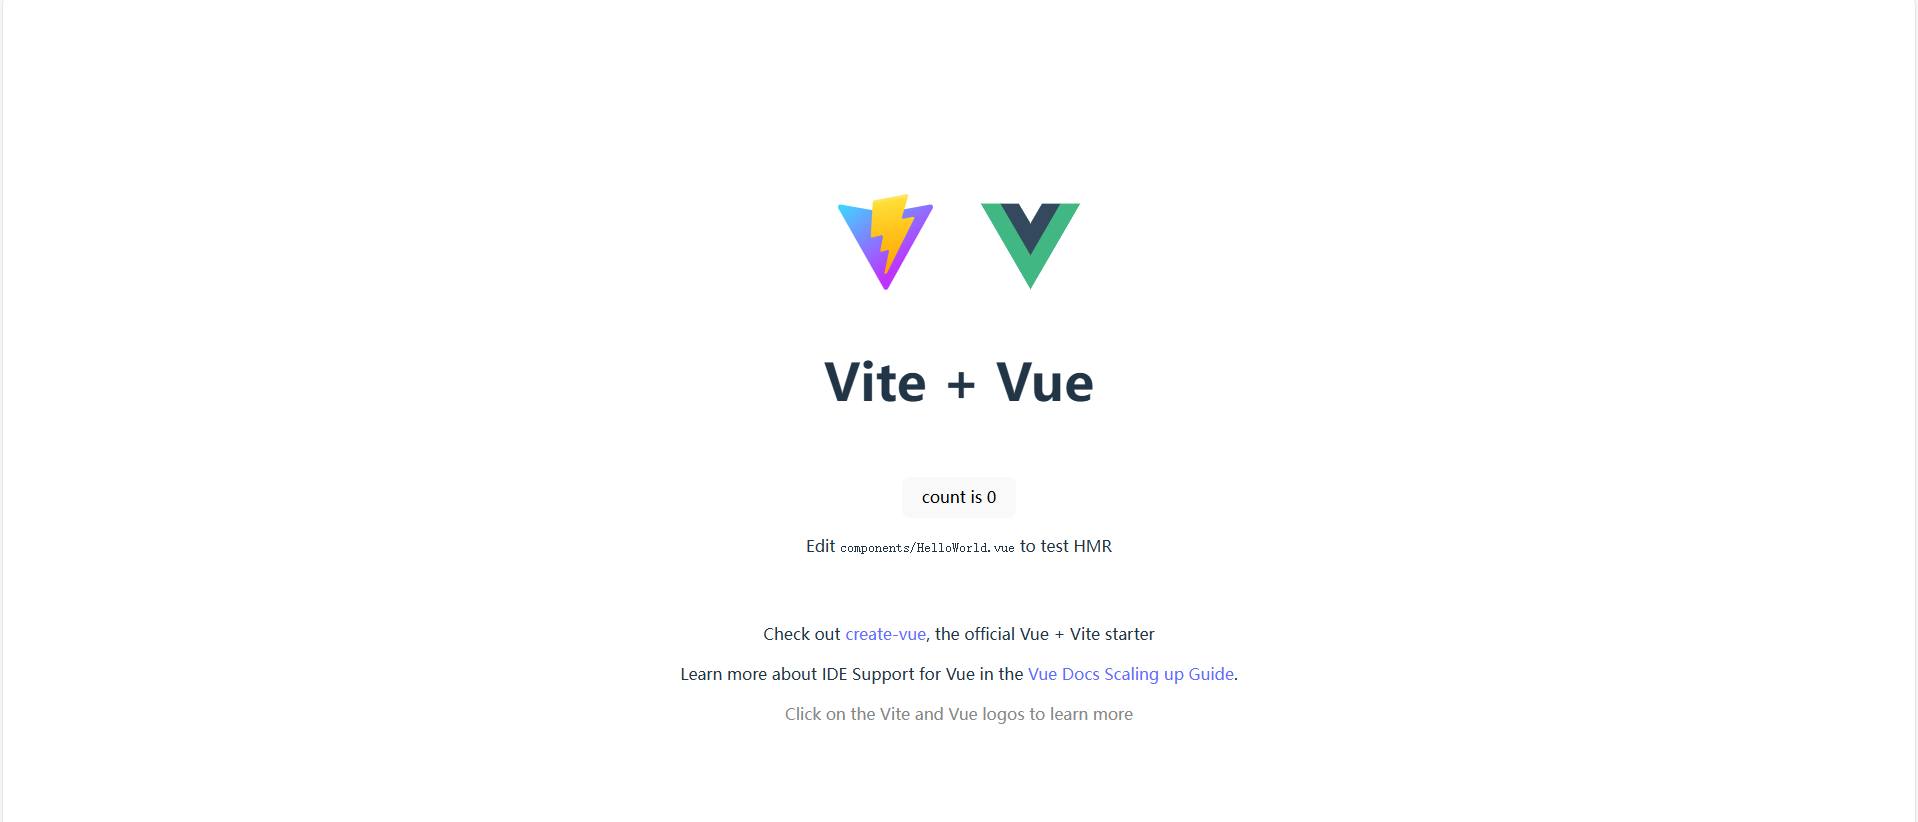
最后会指示一个本地端口,用于打开一个HelloWorld网页,按CTRL+C停止
保存App文件时,网页也会跟着发生改变。如果没有,就试着刷新一下
大体结构
在默认生成的代码中,App.vue的格式与HTML大致相同。其中,\<template\>标签定义组件的HTML结构,\<script\>标签定义组件的逻辑部分,\<style\>标签定义组件的样式。
Vue3中的应用是通过使用createApp函数来创建的,并必须在调用了.mount()方法后才会渲染出来。但这些都包含在文件main.js中,无需操心
注释
\<style scoped\>: 给打包后自动给组件内的 CSS 加上作用域,避免不同组件之间相同的 CSS 类互相干扰export即导出,import即导入,这两个是JavaScript ES6引入的新特性,用于实现模块化。每一个 Vue 组件又必须有export(App.vue也不例外,它被main.js引入)。毕竟组件通过export导出一个配置对象,虽然不一定是export default { ... }的形式,也可以是命名导出,但总之必须export出去。import不是必须的,毕竟如果功能简单或者其他什么因素,也不需要用到别的组件- 其中的
$mount(App)用于将vue元素挂载到DOM元素上
1
| createApp(App).mount('#app')
|
模板语法
Mustache插值
可以通过两个大括号{{ }}进行直接插值
1
2
3
4
5
6
7
8
9
10
11
12
13
14
15
| <template>
<div>
<h2>{{ message }}</h2>
</div>
</template>
<script>
export default {
data() {
return {
message: 'Hello, Vue 3!'
}
}
}
</script>
|
v-text
该指令可以等效于Mustache插值,但Mustache插值更为灵活
1
2
3
| <span v-text = massage></span>
<span>{{ message }}</span>
|
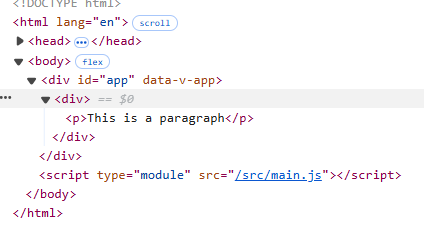
v-html
该指令向属性值以HTML形式注入到响应的节点。但该内容不会在Vue中编译,且在网站上动态渲染网页易受到XSS攻击
1
2
3
4
5
6
7
8
9
10
11
12
13
14
15
| <template>
<div v-html= html>
</div>
</template>
<script>
export default {
data() {
return {
message: 'Hello, Vue 3!',
html: '<p>This is a paragraph</p>'
}
}
}
</script>
|
效果如图所示
v-once
只渲染元素合组件一次,重新渲染时会被直接跳过
v-memo
该指令接收一个数组,若数组中的每个值都和上次渲染时的相同,,则整个子树的更新都会跳过。当其接收的数组为空数组时,与``v-once`指令等价。
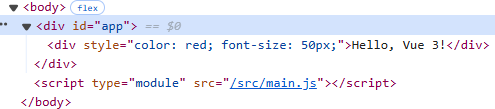
v-bind
可以缩写为:,当使用.prop修饰符时,也可以缩写为.
用于将变量属性的绑定,以设置元素的样式,如style属性,type属性等
1
2
3
4
5
6
7
8
9
10
11
12
13
14
15
16
17
18
19
20
21
22
23
24
25
| <template>
<div :style="style.div">
{{ message }}
</div>
</template>
<script>
export default {
data() {
return {
message: 'Hello, Vue 3!',
}
},
computed: {
style() {
return {
'div': {
color: 'red',
fontSize: '50px',
}
}
}
}
}
</script>
|
最后结果为
v-on
可以缩写为@符号
用于监听DOM事件,从而执行JavaScript代码
1
2
3
4
5
6
7
8
9
10
11
12
13
14
15
16
17
18
| <template>
<div>
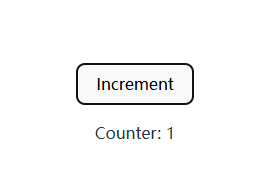
<button @click="counter++">Increment</button>
<p>Counter: {{ counter }}</p>
</div>
</template>
<script>
export default {
data() {
return {
counter: 0,
}
},
}
</script>
|
最后会生成一个按钮,点击一次会产生相应反应
v=model
在表单标签上加上该指令,标签上的初始值会被忽略,从而实现双向绑定
以下的代码相互等价
1
2
| <input v-model="value"/>
<input :value="value" @input="value = $event.target.value"
|
以下代码
1
2
3
4
5
6
7
8
9
10
11
12
13
14
15
16
17
18
19
| <template>
<div>
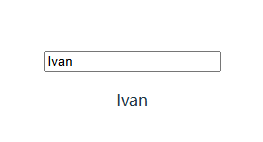
<input type="text" v-model="value"/>
<br/>
<p>{{ value }}</p>
</div>
</template>
<script>
export default {
data() {
const value = 'test'
return {
value,
}
},
}
</script>
|
的输出结果为
v-model 指令一般用于表单的输入中,如<input/> <select/> <radio/> <checkbox/> 等等
v-bind 范围更为广泛,链接等元素也能用
v-model 有以下3种修饰符
| 修饰符 |
作用 |
.lazy |
监听的是change事件而非input事件,如当输入框失去焦点后才会响应 |
.number |
输入框得到的数据一般是字符串格式,此处转换为数字格式 |
.trim |
去掉输入内容前后的空格 |
组合式api
组合式api是vue3中一种新的api形式,相比以前的选项式api更为灵活,以下两个实例可以看出二者的差别
选项式api
1
2
3
4
5
6
7
8
9
10
11
12
13
14
15
16
17
| export default {
data() {
return {
count: 0
};
},
methods: {
increment() {
this.count++;
}
},
computed: {
doubleCount() {
return this.count * 2;
}
}
};
|
组合式api
1
2
3
4
5
6
7
8
9
10
11
12
13
14
15
16
17
18
19
20
21
| import { ref, computed } from 'vue';
export default {
setup() {
const count = ref(0);
const increment = () => {
count.value++;
};
const doubleCount = computed(() => {
return count.value * 2;
});
return {
count,
increment,
doubleCount
};
}
};
|
流程控制
| 条件语句 |
作用 |
v-if |
元素在false时不会渲染到DOM中 |
v-else v-else-if |
配合v-if使用 |
v-show |
元素总是会渲染,但元素在false时不会显示 |
v-for |
遍历数组或对象,格式为v-for="(value, key, index) in object" |
组件
组件的声明
根据引入位置的不同,可以将组件分为全局组件和局部组件
以下为全局组件的内容,若引用成功,则输出棕色字体
1
2
3
4
5
6
7
8
9
| <template>
<h1 style="color:brown">This is a global component</h1>
</template>
<script>
export default {
name: 'GlobalComponent'
}
</script>
|
以下为局部组件的内容,若引用成功,则输出蓝色字体
1
2
3
4
5
6
7
8
9
| <template>
<h1 style="color: blue;">This is a part component</h1>
</template>
<script>
export default {
name: 'PartComponent'
}
</script>
|
以下为动态组件中绑定的内容
Test1 打印绿色字体
1
2
3
4
5
6
7
8
9
| <template>
<h1 style="color: green;">This is a test1 component</h1>
</template>
<script>
export default {
name: 'Test1'
}
</script>
|
Test2 打印橙色字体
1
2
3
4
5
6
7
8
9
| <template>
<h1 style="color: orange;">This is a test2 component</h1>
</template>
<script>
export default {
name: 'Test2'
}
</script>
|
接下来需要在main.js中进行全局组件的注册
1
2
3
4
5
6
7
8
9
| import { createApp } from 'vue';
import App from './App.vue';
import Header from './components/global.vue';
createApp(App).component('global', Header).mount('#app');
|
在App.vue中引入所有组件
1
2
3
4
5
6
7
8
9
10
11
12
13
14
15
16
17
18
19
20
21
22
23
24
25
26
27
28
29
30
31
32
33
34
35
36
37
38
39
| <template>
<global/>
<part-component/>
<br/>
<div>
<button @click="change('Test1')">Test1</button>
<button @click="change('Test2')">Test2</button>
<component :is="currentComponent"/>
</div>
</template>
<script>
import { ref } from 'vue';
import PartComponent from './components/part.vue'
import test1 from './components/test1.vue';
import test2 from './components/test2.vue';
export default {
components: {
PartComponent,
Test1: test1,
Test2: test2
},
setup () {
const current = ref('Test1');
const change = (component) => {
current.value = component;
}
return {
currentComponent: current,
change
}
}
}
</script>
|
路由
使用路由,可以使网页在不重新加载页面的情况下改变URL,使用其功能
路由插件的安装
创建完一个VUE项目后,在终端中输入指令
1
| npm install vue-router@next --save
|
在相应目录中安装路由相关依赖
路由的使用
以下面的代码为例,说明路由的使用
App.vue
1
2
3
4
5
6
7
8
9
10
11
12
13
14
| <template>
<h1>
An example of a Vue 3 router.
</h1>
<nav>
<router-link to="/">Home</router-link>
<br/>
<router-link to="/about">About</router-link>
</nav>
<main>
<router-view/>
</main>
</template>
|
不同于<a>标签,我们一般使用<router-link>标签创建链接,使用<router-view>组件使Vue Router知道我们想要在哪里渲染对应的路由组件
<router-view>组件不一定要在App.vue中,但必须在某处被导入
创建路由器实例
通过调用createRouter()函数创建路由器实例
1
2
3
4
5
6
7
8
9
10
11
12
13
14
15
| import { createMemoryHistory, createRouter } from "vue-router";
import HomeView from "../components/HomeView.vue";
import AboutView from "../components/AboutView.vue";
const routes = [
{path: "/", component: HomeView},
{path: "/about", component: AboutView}
];
const router = createRouter({
history: createMemoryHistory(),
routes
});
export default router;
|
首先需要先引入相关库和路由指示的网页文件
其中的routes选项定义了一组路由,把URL路径映射到组件。其中,由component参数指定的组件就是先前在 App.vue 中被<RouterView>渲染的组件。这些路由组件通常被称为视图,但本质上它们只是普通的 Vue 组件
createMemoryHistory()选项会完全忽略浏览器的URL而使用自己的URL
注册路由器插件
在main.js中注册
1
2
3
4
5
| import { createApp } from 'vue';
import App from './App.vue';
import router from './router/router.js';
createApp(App).use(router).mount('#app');
|
注意需要将路由器实例引入进来,以及use()需要在mount()之前调用
Axios
Axios用于向后端服务器发送请求
post请求
1
2
3
4
5
6
7
| axios({
method: 'post',
url: '/...',
data: {
...
}
});
|
get请求
这是默认的axios请求方式
也可以另外配置
1
2
3
4
5
6
7
8
9
10
| axios({
method: 'get',
url: '/...',
})
.then(result =>{
...
})
.catch(err => {
...
});
|
Pinia
在vue3后,我们一般使用Pinia做专属动态管理库
点击进入Pinia的官方文档
store是什么
store是一个保存状态和业务逻辑的实体,它承载着全局状态,它有3个概念state getter和action,我们可以假设这些概念相当于组件中的 data、 computed和methods。
一个Store应该包含可以在整个应用中访问的数据。这包括在许多地方使用的数据,例如显示在导航栏中的用户信息,以及需要通过页面保存的数据,例如一个非常复杂的多步骤表单。
定义store及其属性
定义store
store用defineStore()定义,它的第一个参数要求是一个独一无二的名字,该名字最好是 use… 形式的
1
2
3
4
5
| import { defineStore } from 'pinia'
export const useAlertsStore = defineStore('counter', {
})
|
在内部方法中传入一个带有state、actions与getters属性的 Option 对象
1
2
3
4
5
6
7
8
9
10
11
| export const useCounterStore = defineStore('counter', {
state: () => ({ count: 0, name: 'Eduardo' }),
getters: {
doubleCount: (state) => state.count * 2,
},
actions: {
increment() {
this.count++
},
},
})
|
由于上述所说Option属性与组件属性的相似性,也可以直接代替
1
2
3
4
5
6
7
8
9
| export const useCounterStore = defineStore('counter', () => {
const count = ref(0)
const doubleCount = computed(() => count.value * 2)
function increment() {
count.value++
}
return { count, doubleCount, increment }
})
|
访问state
默认情况下,可以直接对state进行读写
1
2
| const store = useStore()
store.count++
|
注解:
调用store.$reset()将state重置为初始值
调用store.$patch()在同一时间更改多个属性,但某些变更可能会很难实现
action
action可以异步操作
1
2
3
4
5
6
7
8
9
10
11
12
| actions: {
async registerUser(login, password) {
try {
this.userData = await api.post({ login, password })
showTooltip(`Welcome back ${this.userData.name}!`)
} catch (error) {
showTooltip(error)
return error
}
},
},
|
其中,async将函数标记为异步函数。await关键字将暂停函数执行直到该post请求被解决或拒绝